The easiest version of the dreadnought to convert is the venerable. AoBR guys can be used as well (hey they're cheap on ebay), but they are a bit more difficult to work with. What you're going to do is cut down the arm sockets to symmetrical shapes.You'll have to cut down the pieces a significant amount to get them to this size.
http://www.kjmagnetics.com/ is a good source for magnets.

Cut off the plastic pin on the dreadnought arm and place another magnet. Make sure you test the polarization of the magnets before you glue them.


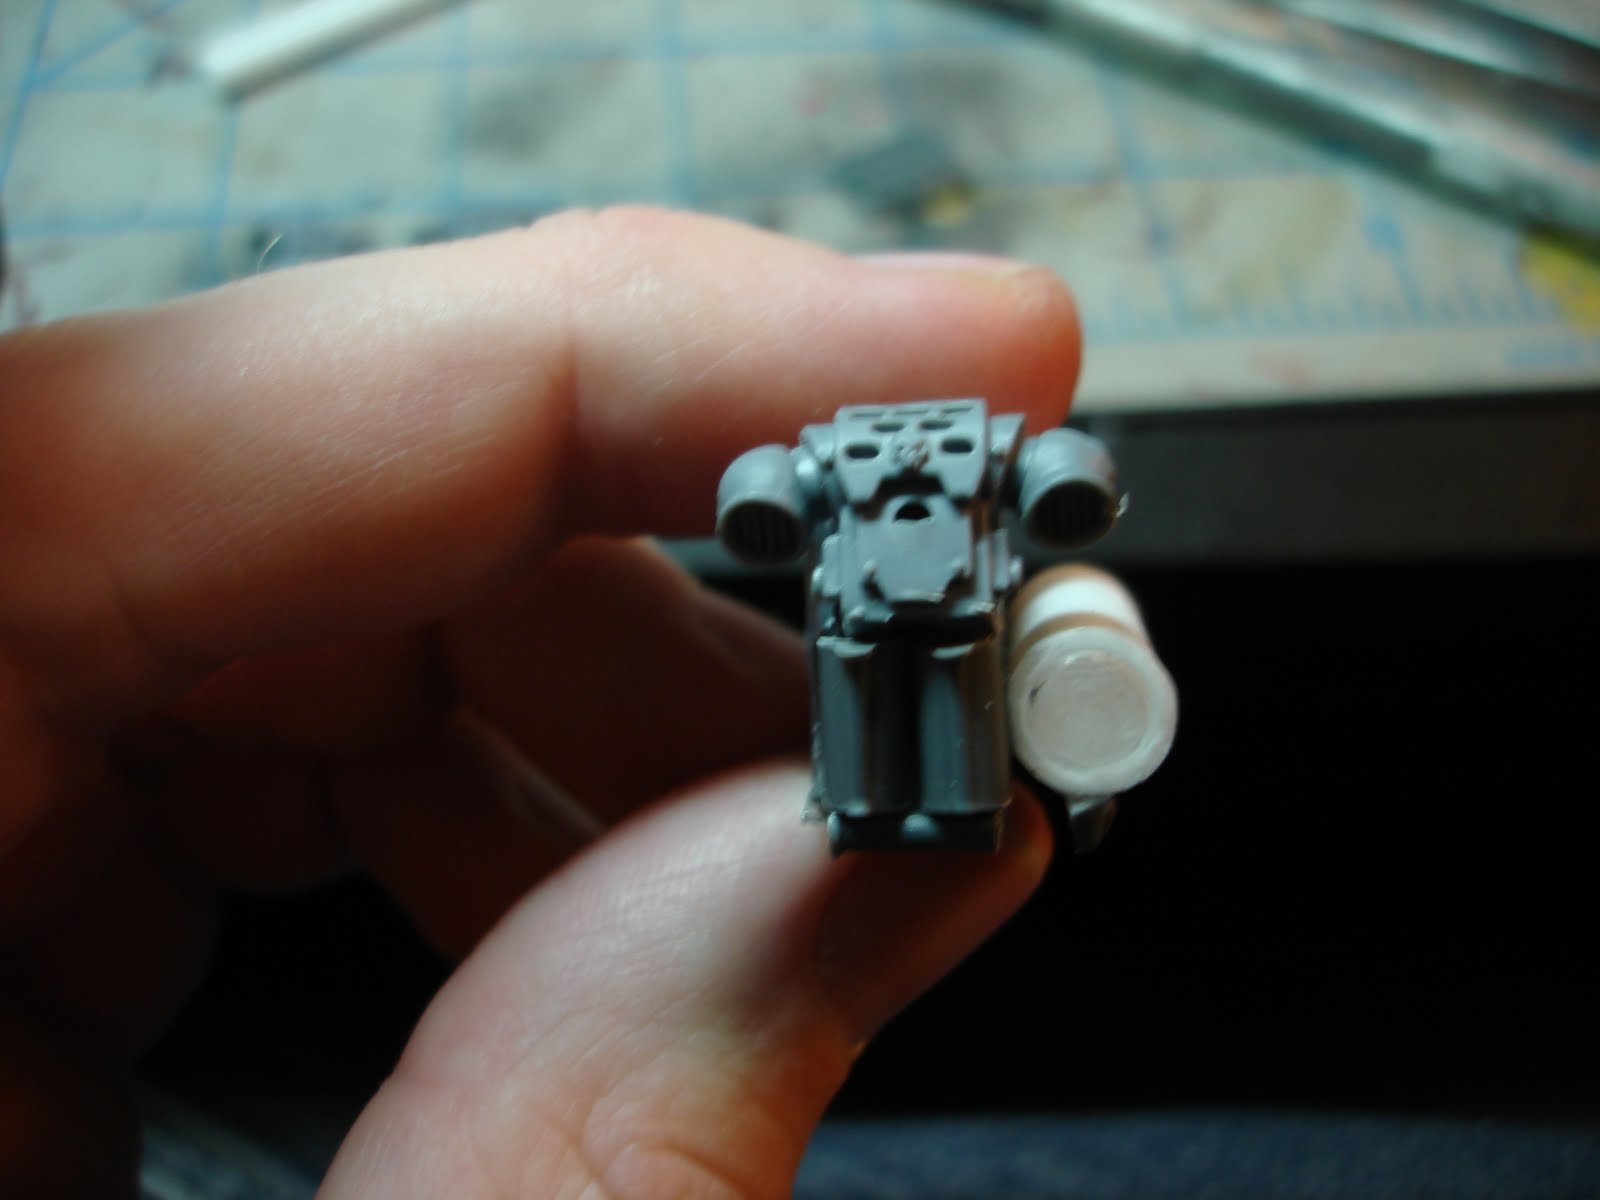
Now you will need plastic tubing for the barrels.


Using the smaller of the two, determine how long you want your barrels to be. Place the tube in the sponson and mark with a knife where you want it to cut off.

Glue your piece in the sponson. Do this one by one, so you can gauge the length of the barrels off of your previous barrels.


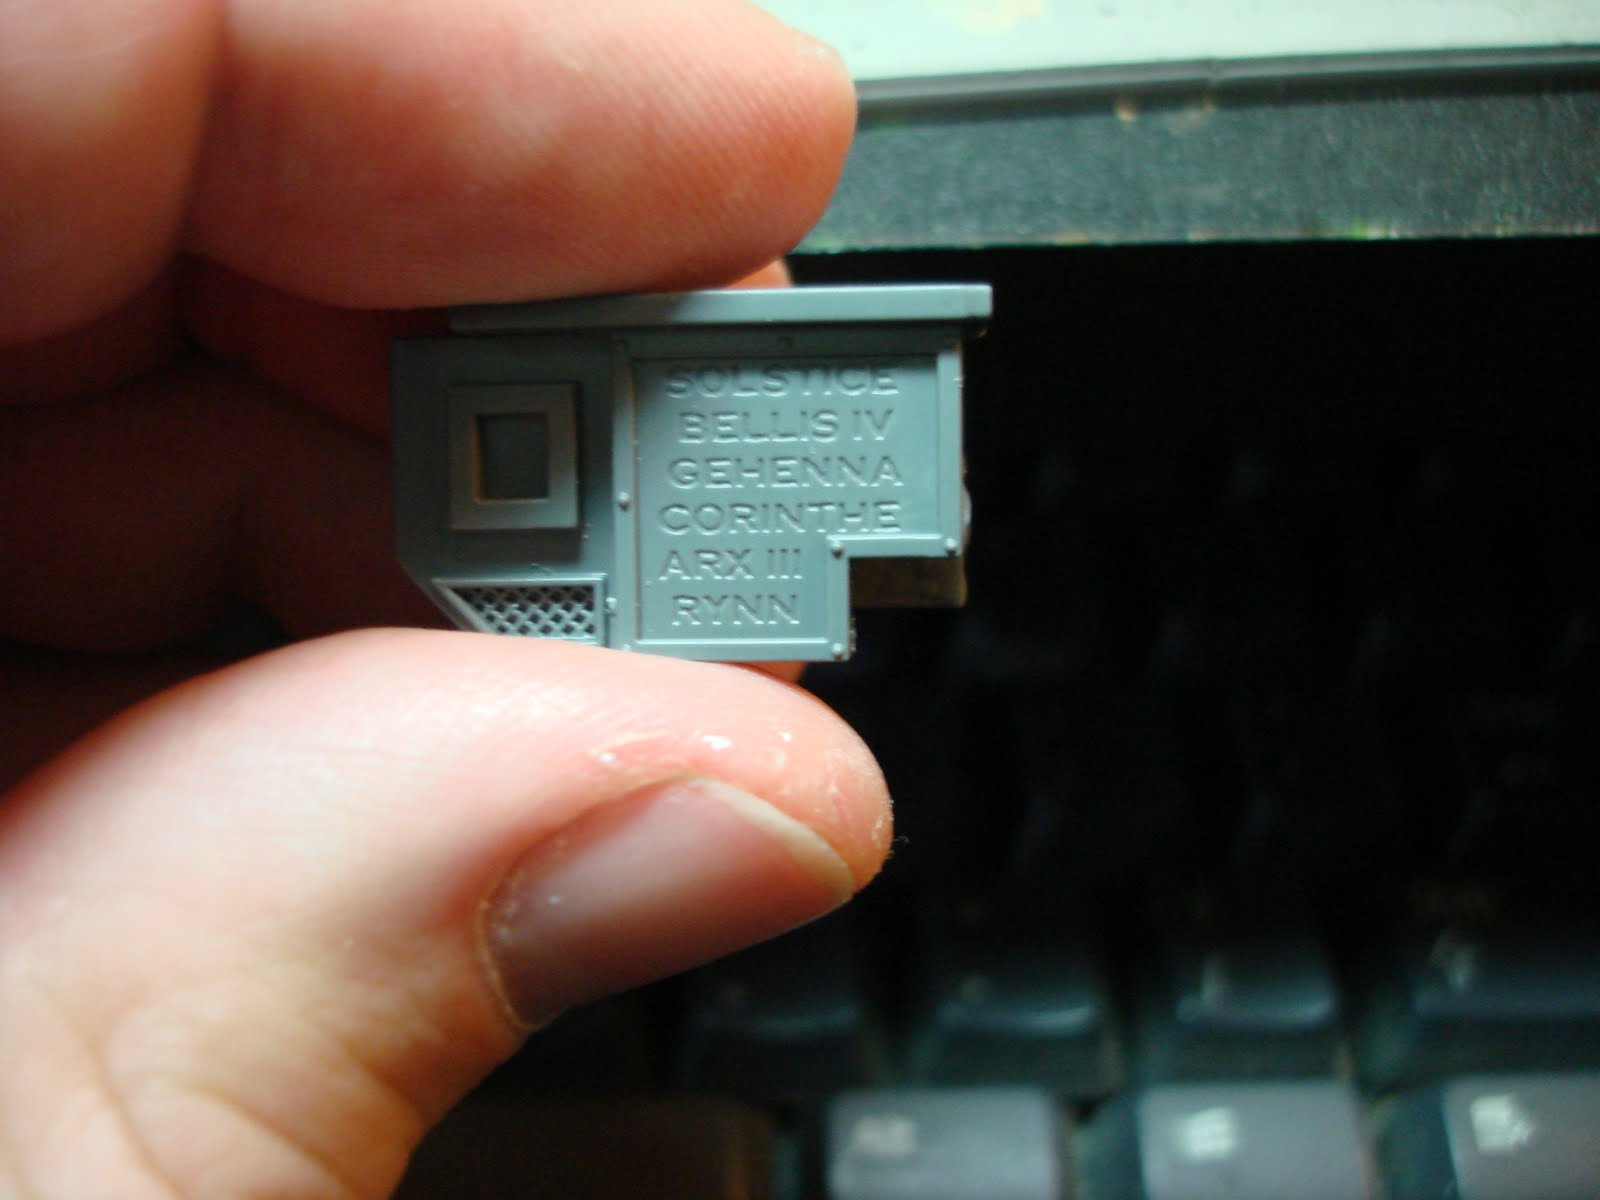
Now all of the holes/cuts from cutting down the sponson need to be covered. Instead of going out and buying plasticard, take the plastic from any package you have lying around.


 I'
I'

this is a good start to a conversion, but if i may, i'd like to make a few suggestions.
ReplyDeletefirstly, in my experience, if you use existing pieces, and it is obvious what they were (in this case, the backpacks) then the effect is sadly less good than it might otherwise have been. this is more of a problem for those of us without massive bits boxes though, so if that is you, then i get it ;)
second, plasticard just doesnt cut it unless you add some detailing. its just never obvious what it's supposed to be otherwise. i like the larger tubes as ammo hoppers, but it isnt immediately obvious that that is what they are. maybe think about getting some very thin sheets of plasticard and adding some details to them. if you cant get hold of that, then try using plain old paper, it superglues very well and is easy to work with.
overall, i think this looks good, it just needs the odd detail to look great!
Thanks for the comment. I thought about the backpack being blatantly obvious, and I think you're right. I may cut off one of the sides to obscure what it is a bit. In regard to the plasticard comment. I'm going to be adding purity seals, inquisitorial symbols etc to make it not so plain.
ReplyDelete